ART 484 - Creating Bitmap Textures in Photoshop.
Page 2
Wood Siding
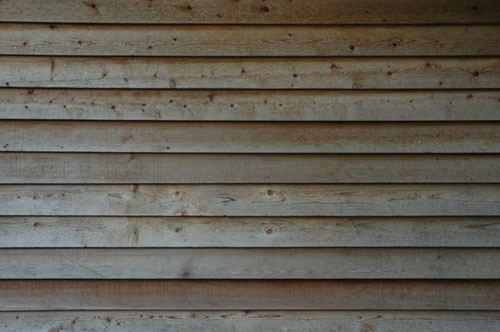 |
Original Camera Image. Notice a "PinCushion" distortion on the top board and again there is a varied exposure across the surface. This image is not bad in terms of being shot straight on, but when making this texture tileable, its extremely important that the horizontal lines run perfectly level across the image so that they line up with the repeat. It need to corrected slightly.
|
|
Photoshop>Edit>Transform>Distort is the best tool for correcting perspective and distortion. Its helpful to turn the Grid on in Photoshop so as to assure that lines are straight and even. In this example, the top and bottom boards that exhibited "pin cushioning" were cropped off and now the image is in the process of being corrected. |
 |
Finished corrected color image. It can be tiled in both the vertical and horizontal directions. |
 |
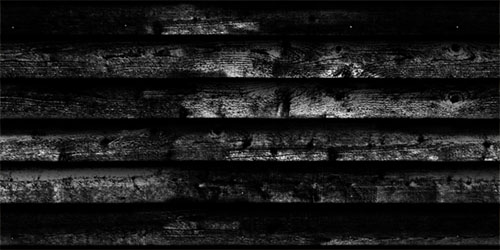
Bump Map Image.
A gradient black and white fill was created for each piece of siding. This will give the appearance that each board is tapered out from the wall and overlaps the next. A slight B&W image of the siding was blended into this to create an illusion of roughness on the surface. |
 |
Specular Image. This will give a more complicated specular effect, even though dry weathered wood does not have strong highlights or specular attributes. This is why it is mostly black.
|

Finished Render in Maya using all three maps

Page 2
Page: ..1... 2.... 3.... 4....5 ..