ART 488 - Still Life Work Flow and Example: PAGE 2
PAGE TWO
As you begin modeling, organization is key. Use your Maya Projects File to hold additional directories, ie Movies and PhotoshopMaster. These allow you to store ALL files that you need for the project. Transferring and archiving the project is easy. All files are in the same place. Create directories within Maya's "scene" directory to help you organize. Do incremental saves on objects, saving and deleting construction history as you progress. |
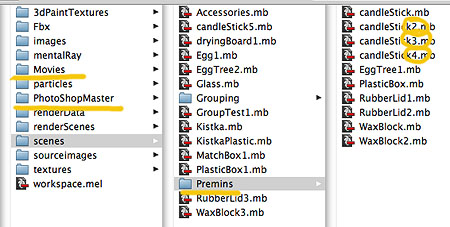 |
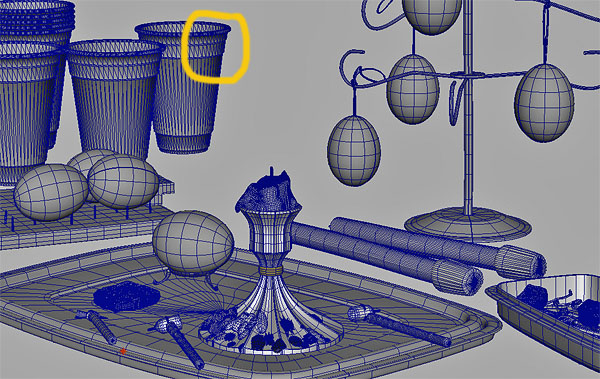
Since this project will be rendered in software and not real-time, you can use NURBS modeling techniques. When using NURBS you can "Display Tessellation" to see how it will be rendered. Increase the tessellation if the curvature is not smooth enough.
|
 |
| If you are working towards a Photo-Real effect, texturing of your objects are as important as the modeling. Use Photoshop to create bump, displacement, specular, and transparency maps from the scanned or photographed color maps. | 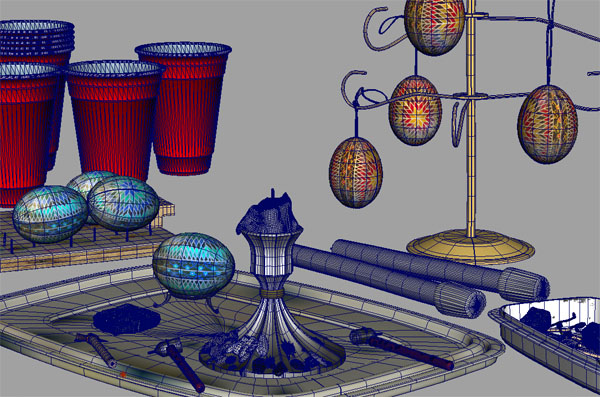 |
For the first assignment, render out at least 3 different styles of images.
This example is photo-realistic and uses Final Gather and two lights for the effect. |
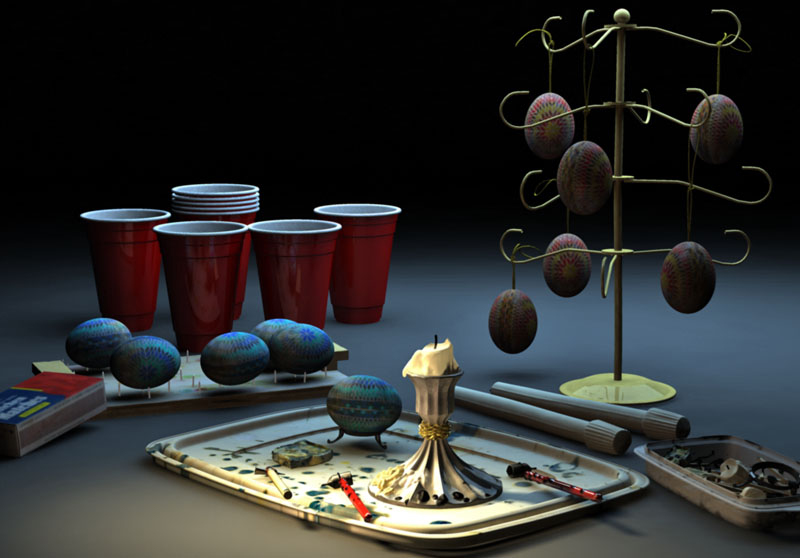 |
A classic lighting shot simulating night time. A key light mixed with a shaft of bluer back light. Paint with darkness and shadow as much as you paint with light! |
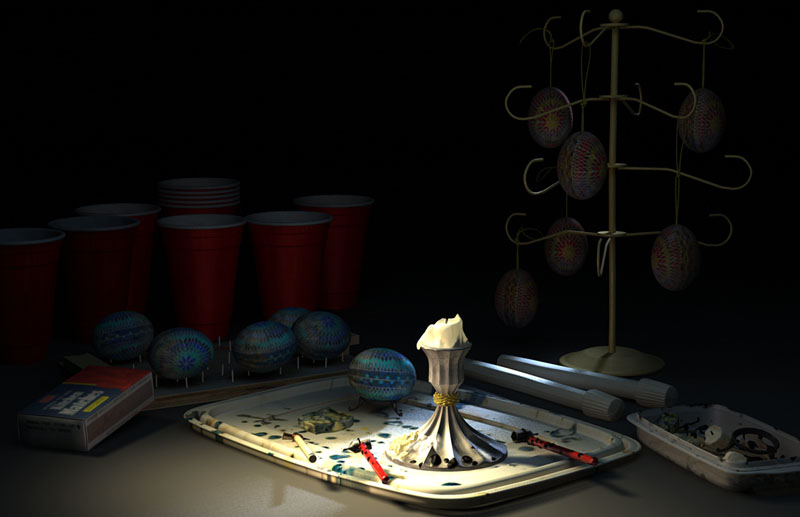 |
| This example is rendered entirely with Final Gather. Textures are all white lambert shaders. | 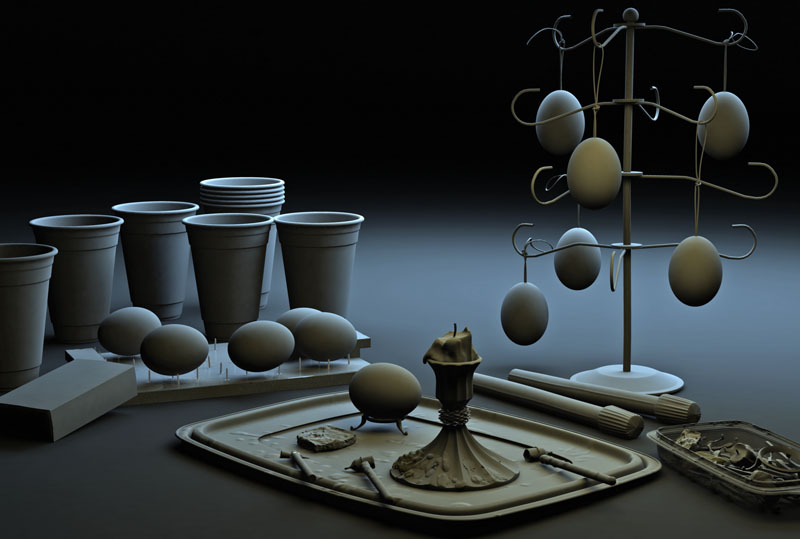 |
| Ambient Occlusion | 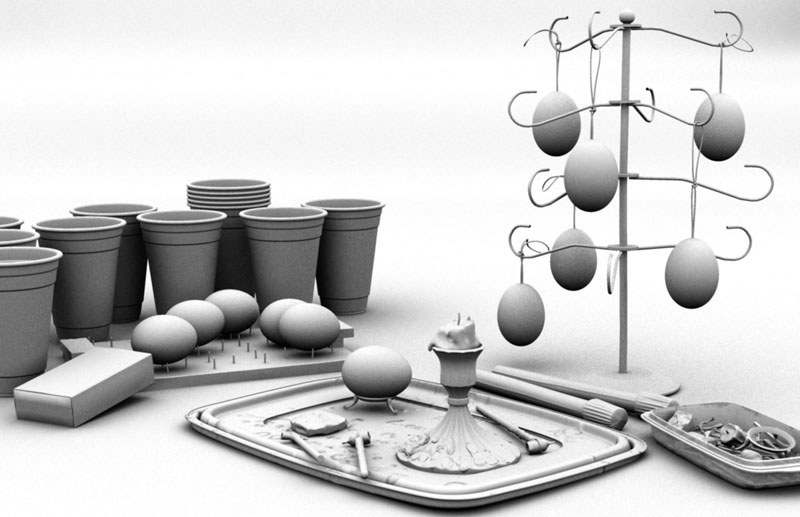 |
A classic default Toon Shader using the Maya Renderer. It is combined with ray traced shadows from the 1 light in the scene. |
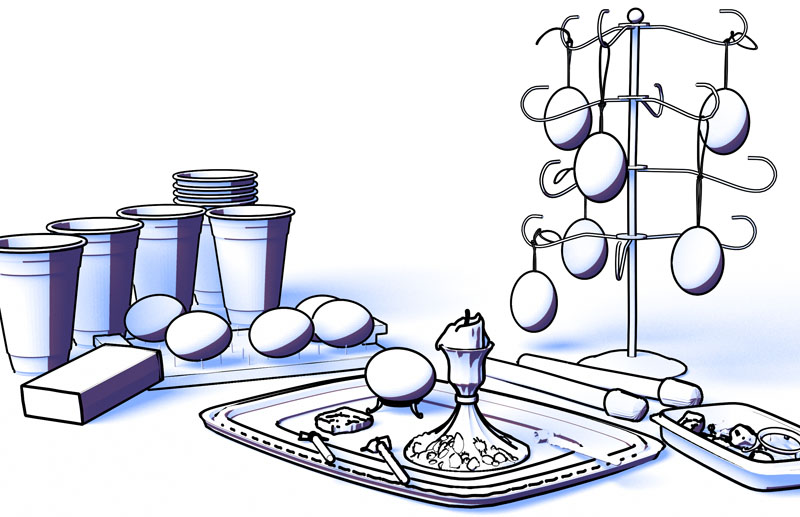 |
| A custom Ramp Shader | 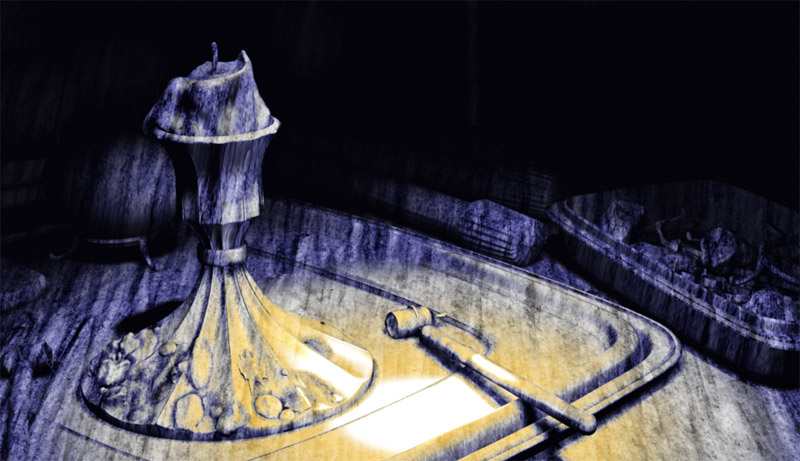 |
Page One ---------Page Three
UMBC Department of Visual Arts, Advanced Maya Courses, Dan Bailey