ART 484 - Robot Arm: Working with Constraints
This page is designed as a supplement to lectures. It is not intended to be a stand alone tutorial.
Locators
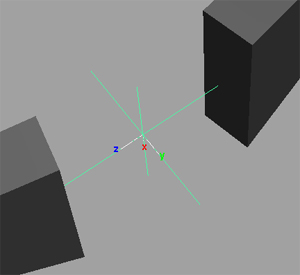
Many times when working with constraints, you need to constrain an object to something that does not render in the final scene. In Maya, you use something called a Locator. It looks like a "jack" with lines showing each axis. A locator works just like a normal object except that it doesn't render.
In the Robot Arm Tutorial you will use Locators and Constraints as a means to pick up the cylinder and transferring it back to the conveyor belt
| Create a Locator and place it directly centered between the gripper claws. You should do this with the Robot Arm in a neutral position. It is important to have the locator aligned with the claws. | 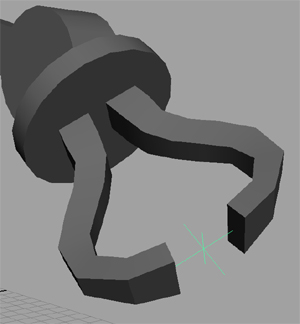 |
Its important to name the locator something recognizable. In a complicated scene "Locator1" isn't going to help much. In this example, it is called GripLocator.
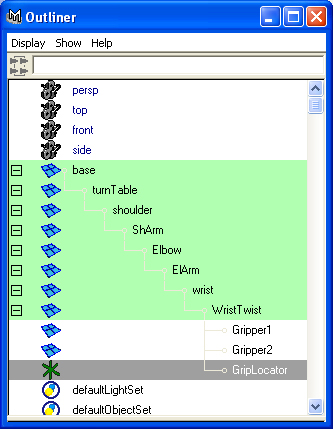
Parent it under WristTwist or under the same node as the two grippers. In this way, the locator will move with the grippers. |
 |
|
It is usually helpful to display the Local Rotation Axes of a Locator so that you can determine which direction it is pointing. This is especially helpful when you are using Orient Constraints.
To display the Local Rotation Axes, select the object and then Display>Component Display>Local Rotation Axes.
Now the axes will be visible even when the object is not selected. |
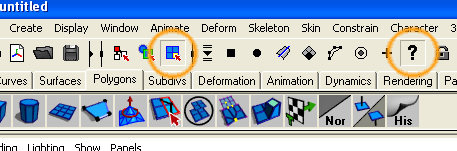 |
At times you need to change the local rotation axes without changing the orientation of the object or locator (see below). It is possible to rotate the local rotation axes. To do this you must first "select" the location axes and then you can rotate them in a normal fashion. To select the local rotation axes, go to component mode and turn off all components. Then turn on "local rotation axes" under the ? button. When they are selected they will highlight and you can now rotate them to suit your needs. |
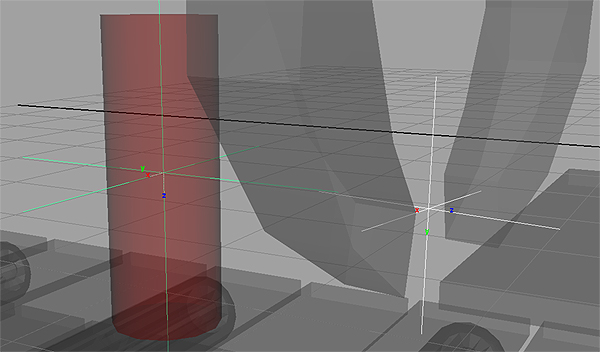
Preparing 2 locators for seamlessly animating a weighted constraint.
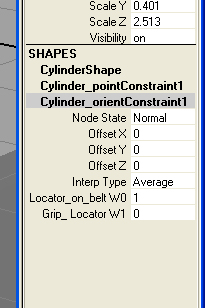
When animating the transfer of an object from one control to another by using an aim and orient constraint, it is especially helpful to have the locators in perfect alignment when the weights are animated. The position of the locator and its alignment of the local rotation axis is critical.