Incandescent Lighting
This page is designed as a supplement to lectures. It is not intended to be a stand alone tutorial.
Similar to pre-lighting and baking of lighting effects into a texture, an animator can create textures with lighting effects and map them to the Incandescent channel of a shader. Incandescence is the effect for making a shader look like it is emitting light. It will render even if there are no lights in the scene. By mapping textures to the incandescence channel you can create renders that require no lights. This technique is used regularly in real-time applications and to speed up traditional software rendered animations. It is most appropriate when the scene is dark. For example shots in deep space, nighttime, or in dark interiors.
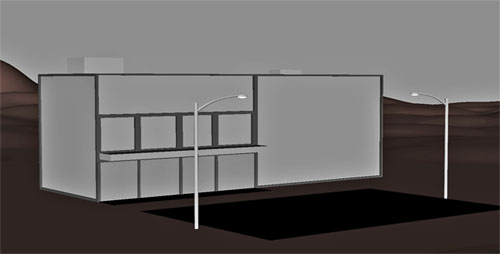
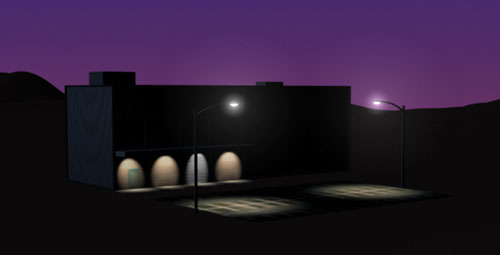
This model will serve as a teaching example, but in actuality it is so simple that using regular lighting techniques would be just fine or even better. We have an office building with an awning over 4 wall panels that will have doors, loading dock door, and bricks. These will be lit with a down light. There is also a parking lot lit with two street lights. The horizon sky will be glowing. It is nighttime with no other lights in the scene. |
 |
The loading dock door is a prepped texture for a metal door. It is brought into Photoshop to create a "downlight" effect. This effect can be done by hand by making a selection and using levels to darken the edges. Burning and Dodging can also be used. However, in some versions of Photoshop there is a "Lighting Effects" filter that can create more sophisticated effects. |
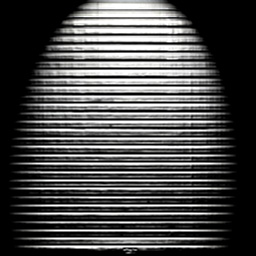 |
In PhotoShop go to Filters>Render>Lighting Effects. Under "Style" there are a number presets for effects. Under "Light Type" you can create Spotlights, Omni Lights and Directional. Intensity and Focus control the light source. Use the handles on the GUI to rotate, scale, aim, and adjust how the light interacts with the image. Properties tell PhotoShop how to make the image react to the light - similar to shaders in Maya. Lowering Ambience will make sure that the blacks are deep black and you won't have bleeds in the final render. "Texture Channel" allows you to get a bump map effect. You can select any of the color channels or, if you image has an alpha channel, you can select that as well. You then can control how intense or high the bump effect is. In this example we created a spotlight aiming down on the door and added in a bump map. |
 |
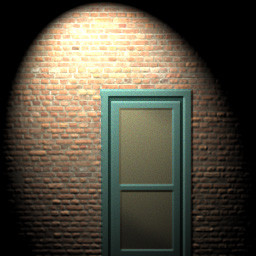
| The same lighting effect technique was used for the brick wall. | 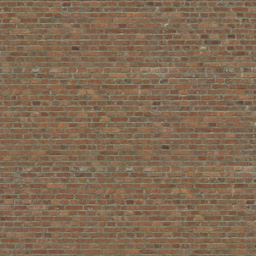  |
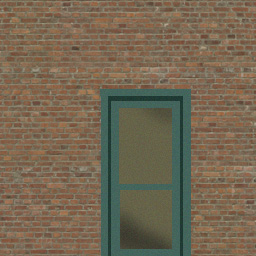
Yeah, this door looks pretty cheesy, but hey, its just a demo. You get the idea. You can paint and create any effects that you want. Just pay attention to your alpha channel if you want complex bump map effects. In this case, the alpha channel contained the door information as well as the color image. |
  |
| The concrete in front is also treated to look like a down light is hitting it. | 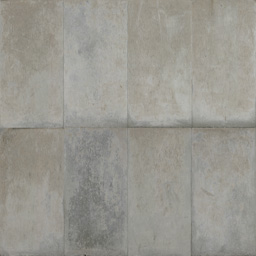 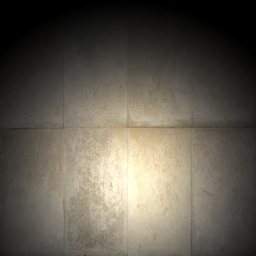 |
A parking lot image was found on the internet. |
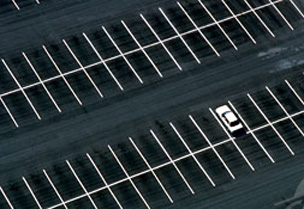 |
| Its cleaned and prepped for a texture. | 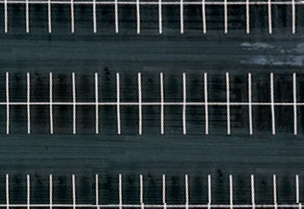 |
| Final Result. This was done by hand using Levels, Burning and Dodging. | 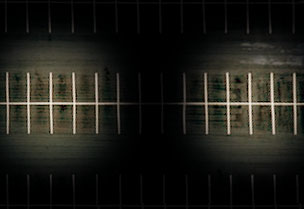 |
| Make Shaders for each of the textures. To control how bright the image is on the Incandescence Channel, us the File Texture's Color Balance Section. You can color tint, effect contrast, brightness and darkness through Color Gain and Color Offset. | 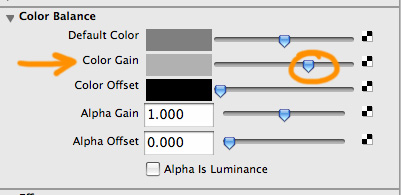 |
Final Image. It took 3 seconds to render. The sky is plane with a ramp mapped to the Incandescence Channel. The street lights have a pure white incandescence mapped to glass around the bulb. Glow is turned on for this shader. |
 |
UMBC Department of Visual Arts, Advanced Maya Courses, Dan Bailey