Ambient Occlusion and Using Overlay Mode in Photoshop
This page is designed as a supplement to lectures. It is not intended to be a stand alone tutorial.
Ambient Occlusion is an indirect lighting method where the illumination of each sample point in the scene is based on the other geometry in the scene. If there is little geometry near the sample point the value is light. If there is geometry near the point, its value will be dark. This effect creates a very soft shadow look, but more importantly it emphasizes small details evenly through the scene. An Ambient Occlusion render is typically 256 shades of gray.
Many times an Ambient Occlusion render can be beautiful on its own, but usually it is combined with a more straight forward render that includes all the textures, lighting effects, and shadow.
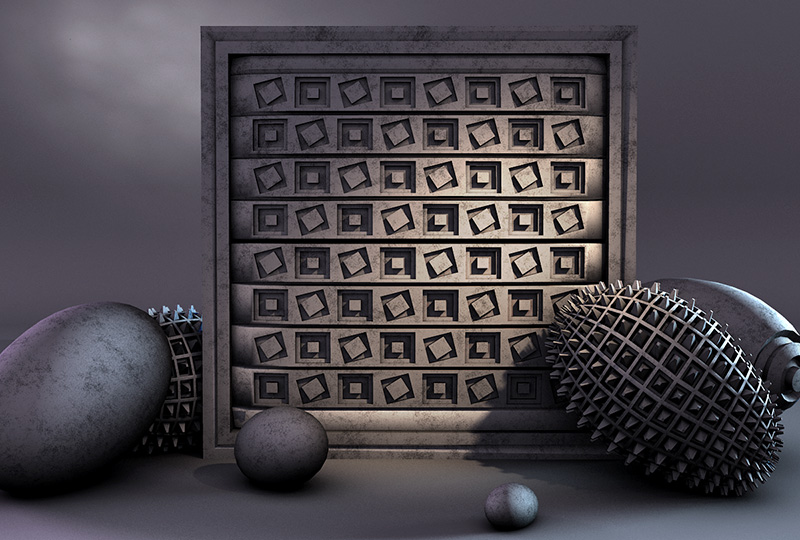
This is the rendered image using 5 lights to create a dramatic effect. However, upon close inspection it is clear that many of the details of the objects are not clear or too dark. Also, the objects just don't appear to be grounded - sitting on the ground. Achieving a more realistic look is difficult (if not impossible) to achieve using just direct lighting methods. |
 |
This is an Ambient Occlusion render of the same scene and from the same camera angle. Note how rich the detail is and how objects are very "attached" to the ground they are sitting on. There is detail in all areas of the scene. To do an Ambient Occlusion render in Maya:
|
 |
If you want to combine (composite) the Color Pass Render with the Ambient Occlusion Pass, you can do this quickly in Photoshop, AfterEffects or other compositing type programs. This example here uses PhotoShop.
|
 |
Here is the result. Though it is hard to see on this web-page layout, when compared to the original render, it is much more detailed and perhaps realistic. |
 |
UMBC Department of Visual Arts, Advanced Maya Courses, Dan Bailey